Learning how to create an Apple Developer account is the first account step for publishing an iPhone app on the App Store. A free Apple Account gives you access to developer resources, but public App Store distribution normally requires paid Apple Developer Program membership.
If you are preparing an iOS app with AppCrafto, begin enrollment while you work on the app. Identity or organization checks can take time, and membership activation is separate from App Review.
What you need to create an Apple Developer account
Prepare the following before you start:
- An Apple Account with your accurate legal name and reliable contact information.
- Two-factor authentication enabled on the Apple Account.
- A supported payment method for membership.
- Legal age of majority in your region for individual enrollment.
- Legal authority, organization records and a D-U-N-S number for company enrollment.
- A public business website and a work email address for organization verification.
The standard Apple Developer Program costs US$99 per membership year, or local currency where available. Some qualifying nonprofits, accredited educational institutions and government entities can request a fee waiver.
How to create an Apple Developer account in 8 steps
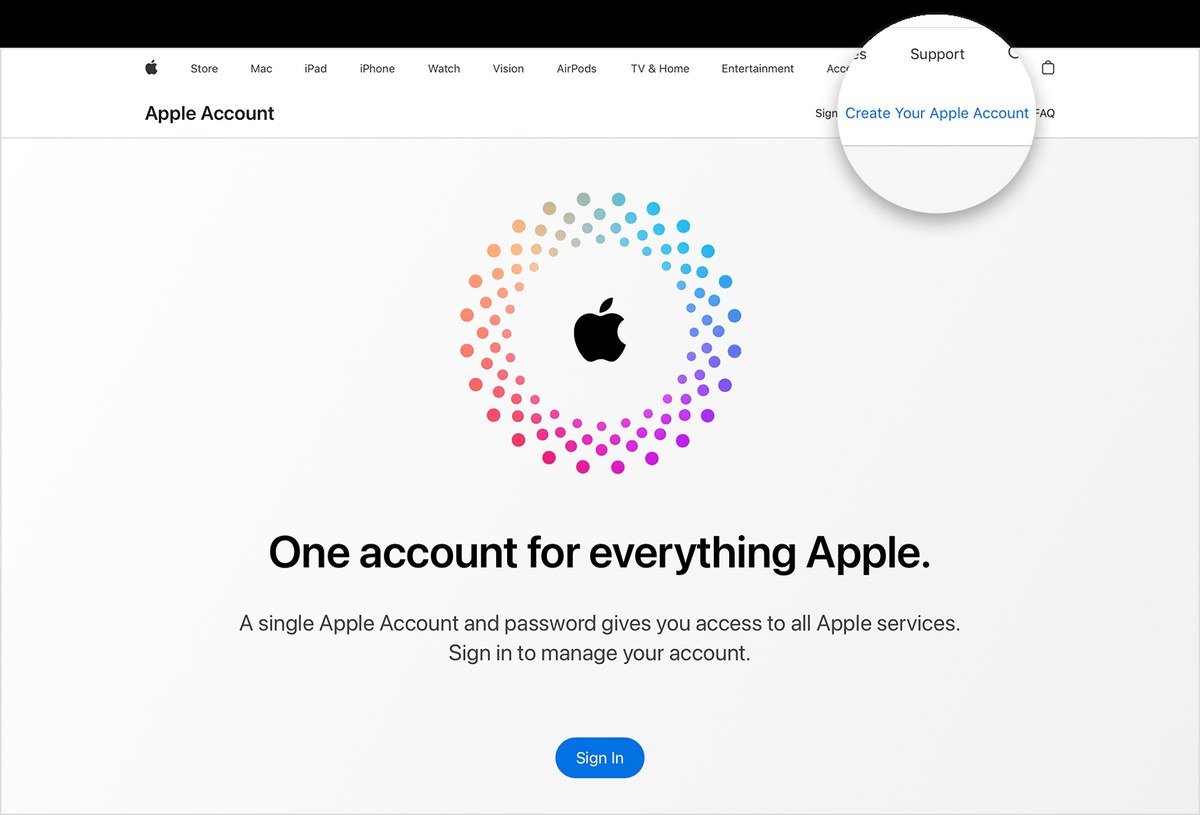
Step 1: Create or choose your Apple Account
Use an Apple Account with your personal legal name and an email address you can access long term. Go to Apple?s Apple Account website if you need to create or review the account.
For company enrollment, the person applying becomes the Account Holder. Choose someone authorized to enter agreements for the organization and maintain the membership.
Step 2: Enable two-factor authentication
Apple requires two-factor authentication for program Account Holders and App Store Connect users. Enable it before beginning enrollment, then confirm that you can receive verification codes on a trusted device or phone number.
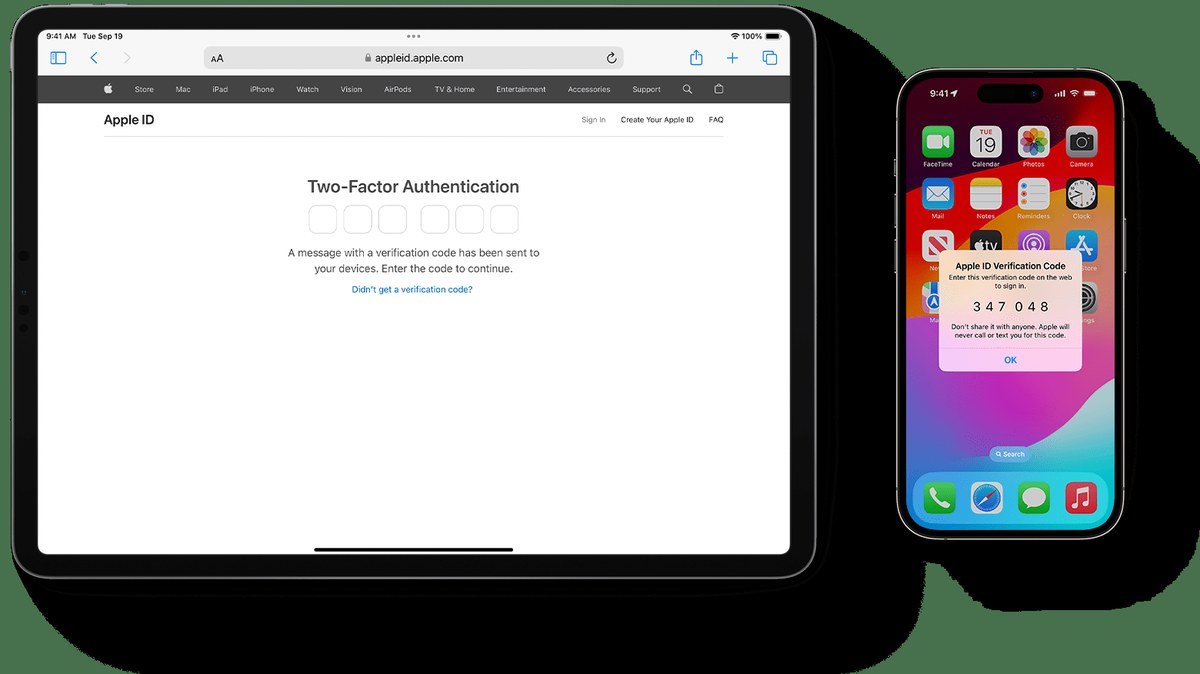
Do not share the Apple Account password or verification codes. After enrollment, invite team members through App Store Connect and assign suitable roles.
Step 3: Choose individual or organization enrollment
When deciding how to create an Apple Developer account, first identify the legal owner and the seller name you want displayed on the App Store.
Individual enrollment
Individuals and sole proprietors can enroll using their personal legal identity. The individual?s legal name appears as the seller name for apps.
Organization enrollment
A company, nonprofit or other eligible legal entity can enroll as an organization. The legal entity name appears as the seller. Apple does not accept a trading name, DBA, fictitious business name or branch as a substitute for a recognized legal entity.
Review Apple?s official enrollment requirements before choosing the account type.
Step 4: Prepare organization information
Organization enrollment generally requires a legal entity, a D-U-N-S number, an enrolling person with authority to bind the organization, a work email address associated with the organization and a functional public website.
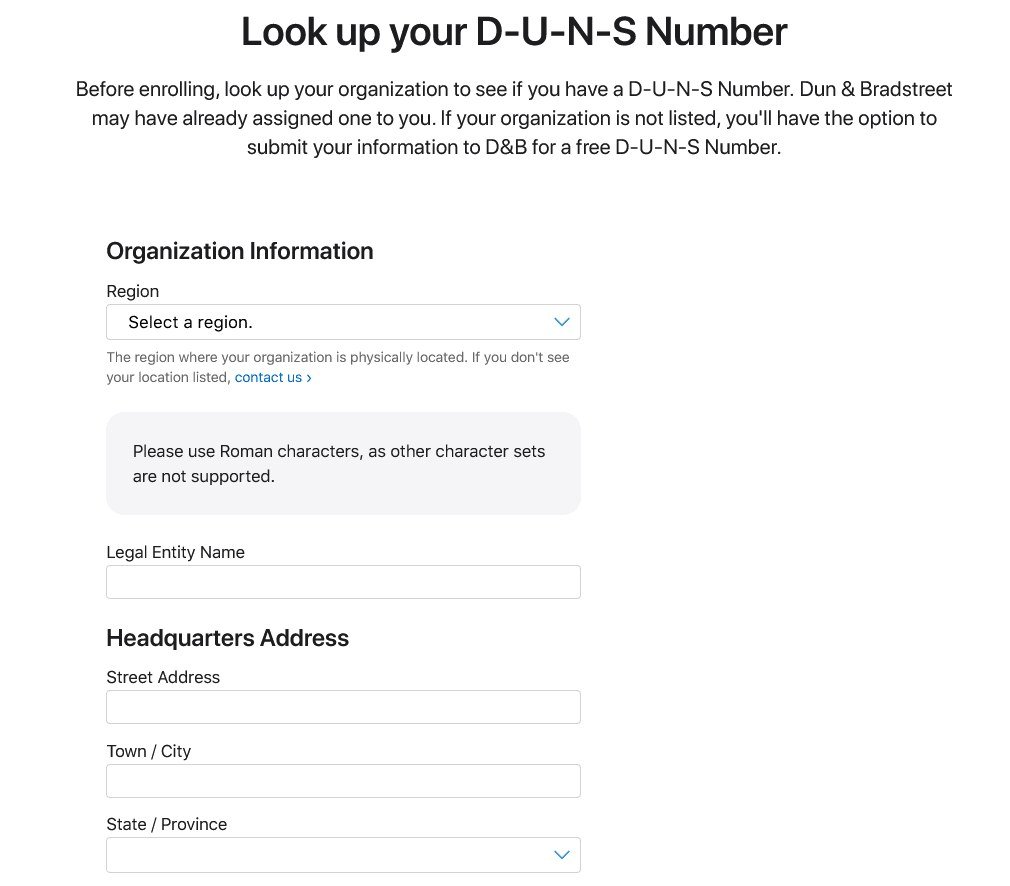
Look up the organization through Apple?s D-U-N-S support page. If a new number is needed, Dun & Bradstreet can issue one without charge. Keep the organization name and address consistent across business records, the D-U-N-S profile, website and enrollment form.
Step 5: Start Apple Developer Program enrollment
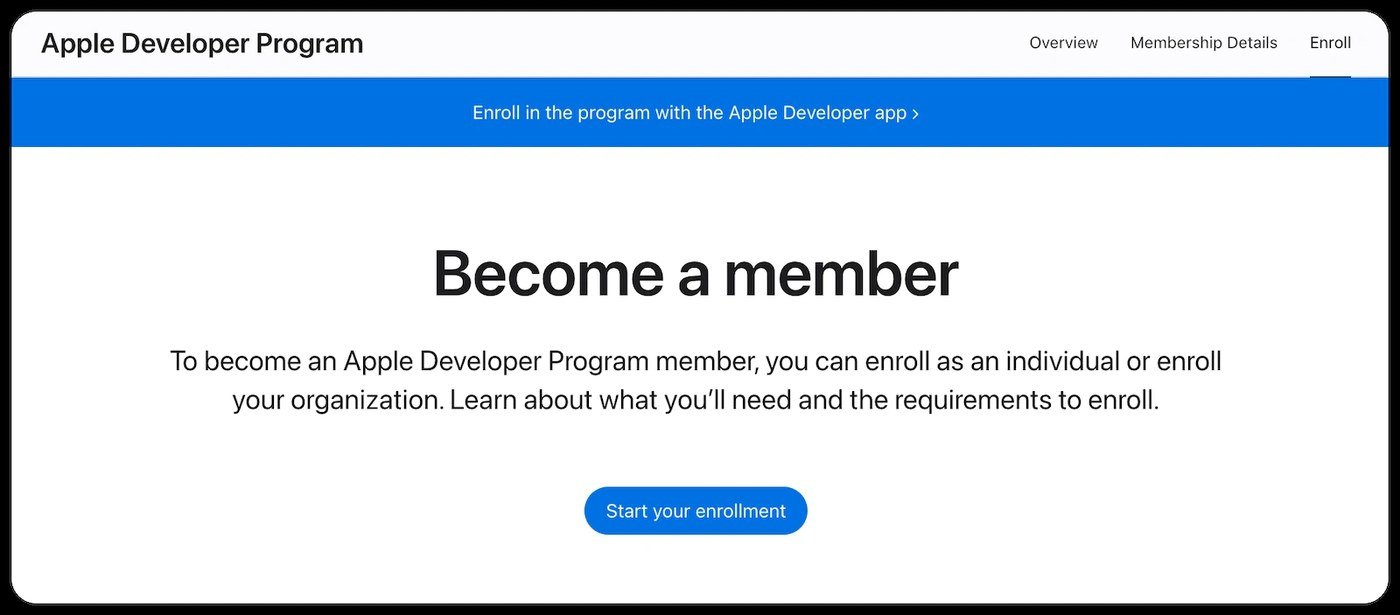
Open the Apple Developer Program enrollment page, sign in and follow the current prompts. The available flow may vary by region and enrollment method.
Use the standard Apple Developer Program for normal public App Store distribution. The Enterprise Program serves private employee distribution and is not the default option simply because the publisher is a business.
Step 6: Complete verification and pay the membership fee
Provide the requested identity or organization information and respond to follow-up questions. Apple may contact the organization to confirm the applicant?s authority before allowing the membership purchase.
The standard membership is US$99 per year, or the local price shown during enrollment. Review the renewal terms and save the receipt with your app records.
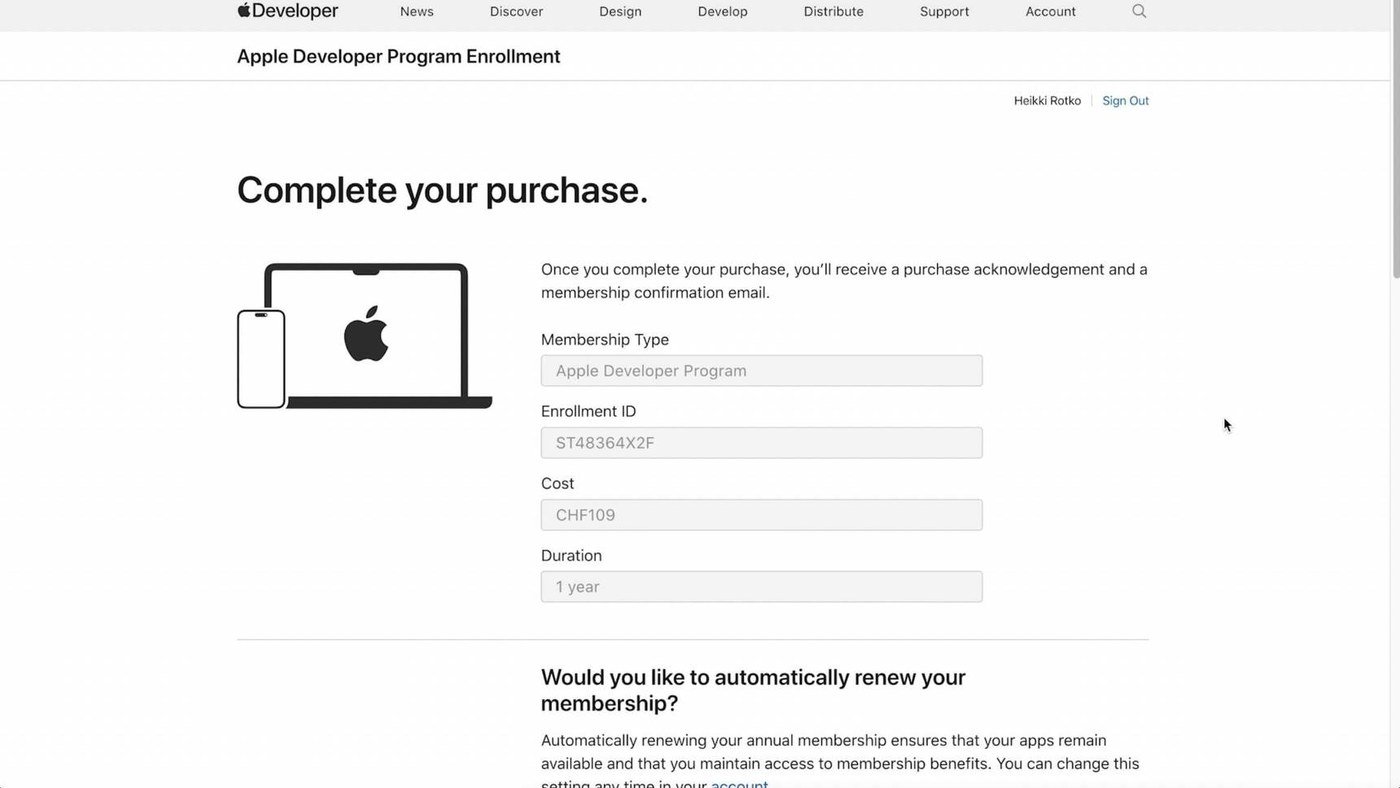
Completing payment does not guarantee approval of an app. Membership activation and App Review remain separate stages.
Step 7: Set up App Store Connect
After membership is active, sign in to App Store Connect. This is where the Account Holder creates app records, manages users, uploads builds, runs TestFlight tests, completes agreements and submits apps for review.
If the app is paid or includes in-app purchases, complete the Paid Apps Agreement and provide the required tax and banking information. Banking details are not a universal requirement for creating the developer account itself.
Apple?s App Store Connect workflow explains how app records, builds, testing and submissions fit together.
Step 8: Prepare the iOS app for TestFlight and review
Test the experience customers will receive. Check navigation, sign-in, forms, loading states, account features, bookings and purchases. Use TestFlight to distribute beta builds and collect feedback before submitting the app.
If reviewers must sign in, provide a working demo account and clear review instructions. Apple says incomplete review information can delay or prevent approval.
For a website-based app, pay close attention to Apple?s App Review guidance. Apple expects useful functionality and sufficient lasting value. An app builder does not guarantee acceptance, so make sure the app helps customers complete meaningful tasks.
Common Apple Developer enrollment mistakes
- Using a brand name as a personal legal name: this can delay identity verification.
- Choosing individual enrollment without checking the seller name: an individual account displays the person?s name.
- Using inconsistent organization records: legal names and addresses should match the D-U-N-S profile.
- Applying without legal authority: the organization applicant must be allowed to sign agreements.
- Confusing membership with approval: every app still goes through preparation and App Review.
- Sharing the Account Holder login: invite users and assign roles instead.
How to create an Apple Developer account: final checklist
- Create or confirm the Apple Account.
- Enable two-factor authentication.
- Choose individual or organization enrollment.
- Prepare identity and organization records.
- Confirm the D-U-N-S record when enrolling a company.
- Complete enrollment and verification.
- Pay the annual membership fee.
- Set up App Store Connect, TestFlight and review materials.
Frequently asked questions
Is an Apple Developer account free?
An Apple Account and some developer resources are free. Public App Store distribution generally requires Apple Developer Program membership at US$99 per membership year, subject to regional pricing and available fee waivers.
How long does Apple Developer enrollment take?
The time varies. Individual enrollment can be quicker when information is verified automatically. Organization enrollment can take longer because Apple verifies the legal entity and the applicant?s authority.
Can my business name appear on the App Store?
Yes, when an eligible organization enrolls under its verified legal entity name. Individual enrollment displays the individual?s legal name as the seller.
Does membership guarantee App Store approval?
No. The app must still meet Apple?s technical, content, privacy and review requirements.
Does AppCrafto replace Apple Developer membership?
No. AppCrafto helps prepare a branded iOS app, while the publisher owns and manages the Apple Developer account and App Store Connect submission.
Prepare your iOS launch with AppCrafto
While enrollment is being reviewed, test your website on iPhones, confirm the app name and icon, prepare screenshots and document the customer journeys reviewers need to check.
Read how to prepare an iPhone app for App Store submission, review the app testing checklist, or compare AppCrafto plans with iOS support.