Learning how to create a Google Play developer account is the first publishing task for anyone planning to release an Android app on Google Play. The account gives you access to Google Play Console, where you manage testing, store listings, releases, policy declarations and future updates.
If you are turning a website into an Android app with AppCrafto, start the account setup early. Building the app and becoming eligible to publish it are separate jobs, and account verification can take time.
What you need before learning how to create a Google Play developer account
Prepare these items before opening the registration form:
- A Google Account that the publisher can keep and recover long term.
- Your legal name, address, email address and phone number.
- A supported credit or debit card for the registration fee.
- A government-issued identity document if Google requests one.
- Business records and a D-U-N-S number when registering an organization.
- An Android device for the device verification required for new personal accounts.
You must be at least 18 years old. Google currently charges a US$25 one-time registration fee. This is a Google fee and is separate from app development, an app builder subscription or publishing support.
How to create a Google Play developer account in 6 steps
Step 1: Open Google Play Console
Go to the official Google Play Console registration page and sign in with the Google Account you want to use for publishing.
Check the email address before continuing, especially if several Google Accounts are signed into the same browser. Use an account the business or publisher can retain. Keep its recovery email, phone number and security settings current.
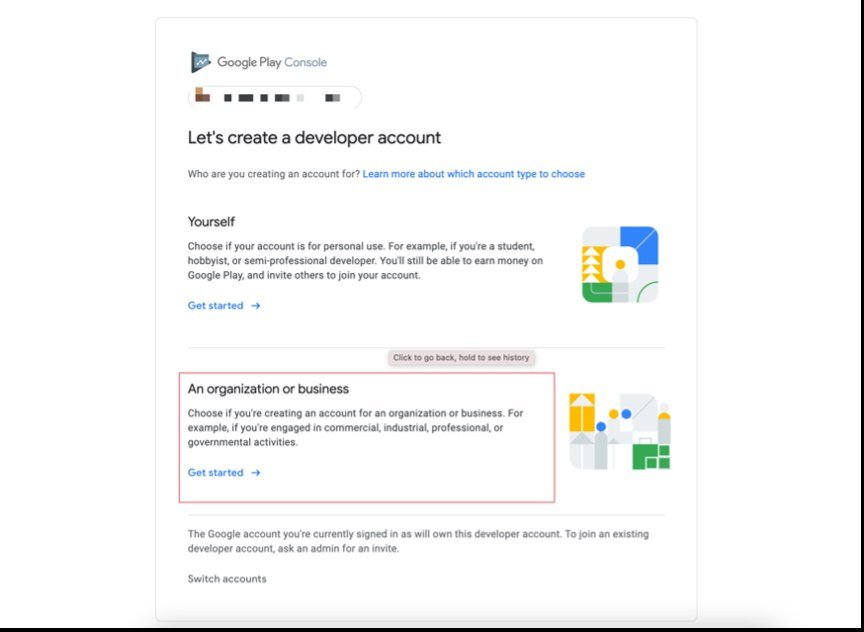
Step 2: Choose a personal or organization account
When deciding how to create a Google Play developer account, start with the legal owner of the app. That determines the correct account type.
Google Play offers two developer account types: personal and organization. Choose the type that truthfully represents who owns and publishes the app.
Personal developer account
A personal account suits an individual publisher. Google may display verified developer information on Google Play, and new personal accounts must complete identity and Android device verification.
Organization developer account
An organization account suits a company, nonprofit or other registered organization. It normally requires a D-U-N-S number, an official organization document and identification for an authorized representative. Google also requires organization details to match the linked payments profile.
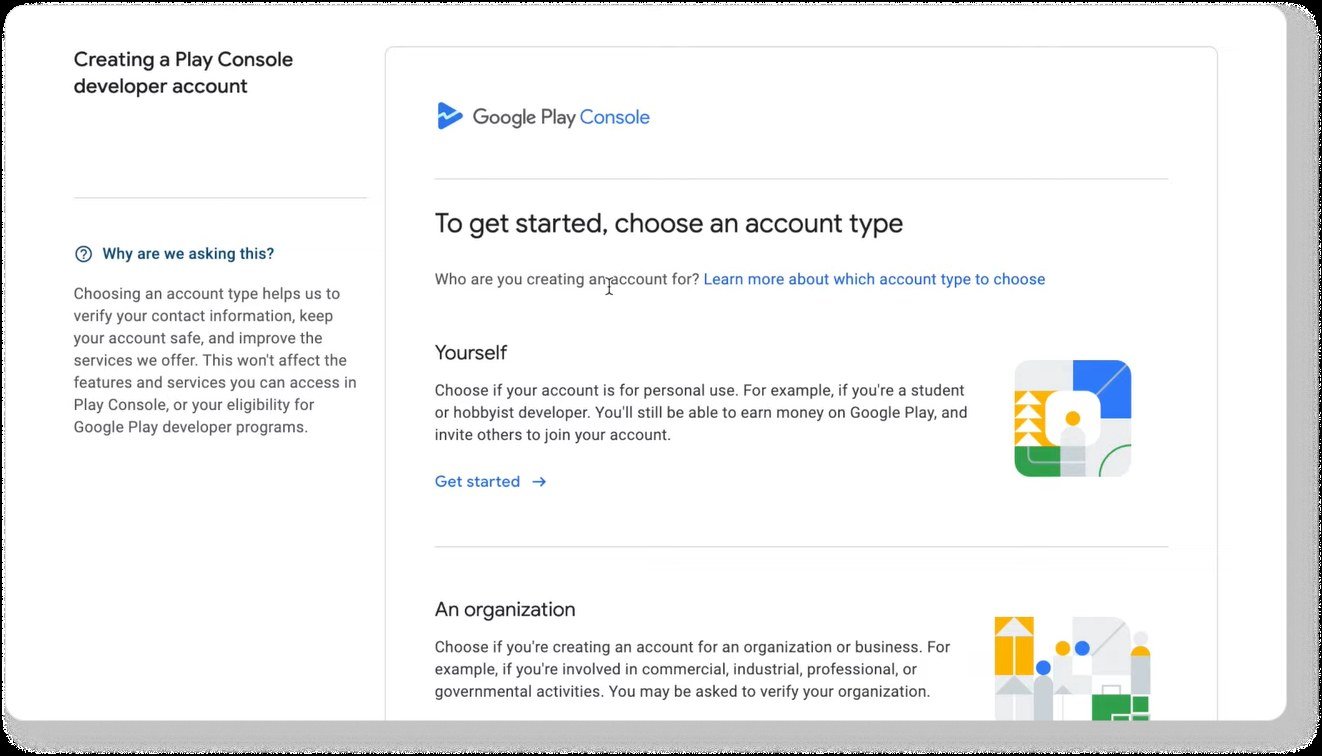
Google?s current account type guidance explains the differences. Do not choose a personal account simply to avoid business verification. Account type affects ownership, required documents and the information shown to users.
Step 3: Enter accurate developer information
Enter the requested profile, contact and legal details. Your public developer name can be your brand, but it does not replace the legal identity required for verification.
For an organization account, make sure the legal name and address in the Google payments profile match the D-U-N-S record and organization documents. Small differences in spelling, abbreviations or address formatting can slow verification.
Use an email inbox that someone actively monitors. Google sends verification requests, policy notices, review decisions and account alerts to the registered addresses.
Step 4: Accept the agreement and pay the $25 fee
Review the Google Play Developer Distribution Agreement and follow the prompts to pay the registration fee. The Google Play developer account fee is currently US$25 and paid once, rather than every year.
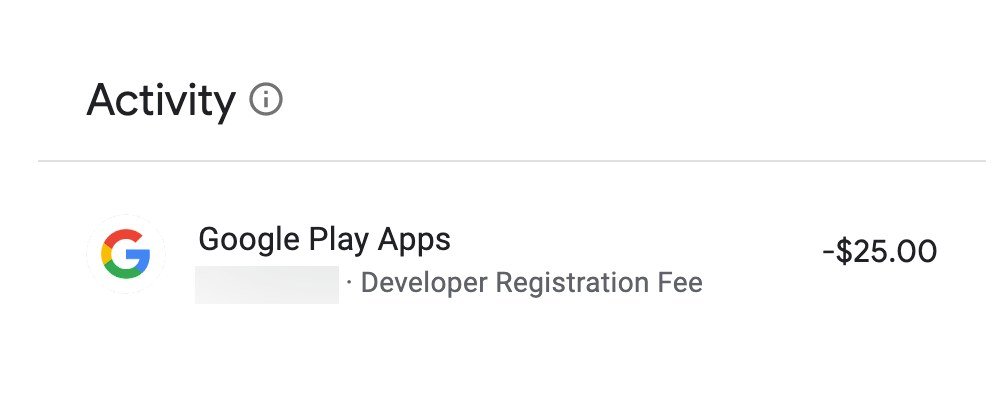
Accepted payment methods vary by country. Save the receipt with your app and business records. Paying the fee starts the account process, but it does not by itself make the account ready for production publishing.
Step 5: Complete Google Play account verification
Complete every verification task shown in Play Console. Depending on the account type and location, Google may ask you to verify your identity, email address, phone number, organization and website.
New personal accounts must also verify access to a real Android device through the Play Console mobile app before making an app available on Google Play. Organization accounts generally need a D-U-N-S number unless a qualifying government organization uses Google?s alternative process.
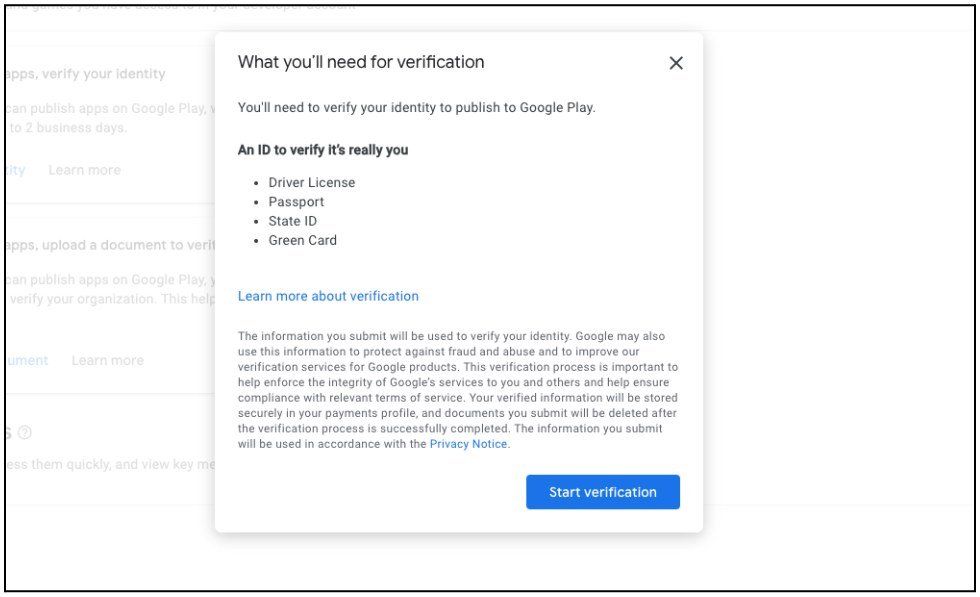
Review Google?s official developer verification requirements for the documents and public information that apply to your account.
Step 6: Prepare the app and complete required testing
After you create a Google Play developer account, prepare the app itself. You will need an app name, icon, screenshots, descriptions, privacy disclosures, policy declarations and an Android App Bundle for publishing.
For personal developer accounts created after 13 November 2023, Google requires a closed test before production access. At least 12 testers must remain opted in continuously for 14 days. Once the requirement is met, the account owner applies for production access and answers questions about testing and app readiness.
Google can require more testing if participation or feedback is insufficient. Read the current closed testing requirements before inviting testers.
Ask testers to complete realistic journeys. For a website-based app, that may include signing in, browsing pages, submitting a form, completing a booking or testing checkout. Record the feedback and changes because Google asks how testing improved the app.
Common registration mistakes
- Using a temporary email: this creates recovery and ownership problems later.
- Choosing the wrong account type: personal and organization accounts have different verification requirements.
- Entering mismatched business details: the payments profile, D-U-N-S record and official documents should agree.
- Waiting to recruit testers: the required 14-day period cannot be shortened at the last minute.
- Assuming a build is a finished submission: store assets, testing, privacy information and policy declarations still need work.
- Sharing the owner login: use Play Console user permissions for team access instead of sharing the main password.
How to create a Google Play developer account: final checklist
- Choose a permanent Google Account and secure it.
- Decide whether the publisher is a person or an organization.
- Prepare identity and business documents.
- Register in Play Console and pay the $25 fee.
- Complete identity, contact, device and organization verification.
- Prepare the store listing and tested Android App Bundle.
- Run the required closed test if it applies to your account.
- Apply for production access and submit the app for review.
Frequently asked questions
Is the Google Play developer account fee annual?
No. Google currently lists a one-time US$25 registration fee. App development, builder plans and publishing services are separate costs.
How long does it take?
If you are asking how to create a Google Play developer account quickly, allow extra time for verification and testing rather than planning only for the registration form.
The registration form and payment can be completed quickly, but verification time varies. New personal accounts may also need Android device verification and a 14-day closed test before applying for production access.
Can I publish immediately after creating the account?
Not always. You must complete the required verification, app setup, testing and policy declarations. Google reviews the app before it becomes publicly available.
Do I need a D-U-N-S number?
Organization accounts generally require one. Personal accounts do not. Certain government organizations can contact Google about an alternative verification route.
Does AppCrafto replace the Google Play developer account?
No. AppCrafto can help you turn your website into an Android app and prepare supported build files, but the publisher still owns and manages the Google Play developer account.
Prepare your Android app while Google verifies the account
Use the verification period to test the website on phones, confirm the app name and icon, prepare screenshots and review privacy requirements. AppCrafto lets you convert your website into an Android app and create a test build before publication.
Review what you need before publishing to Google Play, compare APK and AAB files, or check AppCrafto plans and publishing support.